History
Back to NewsroomThe structure of Australia's forces during the First World War

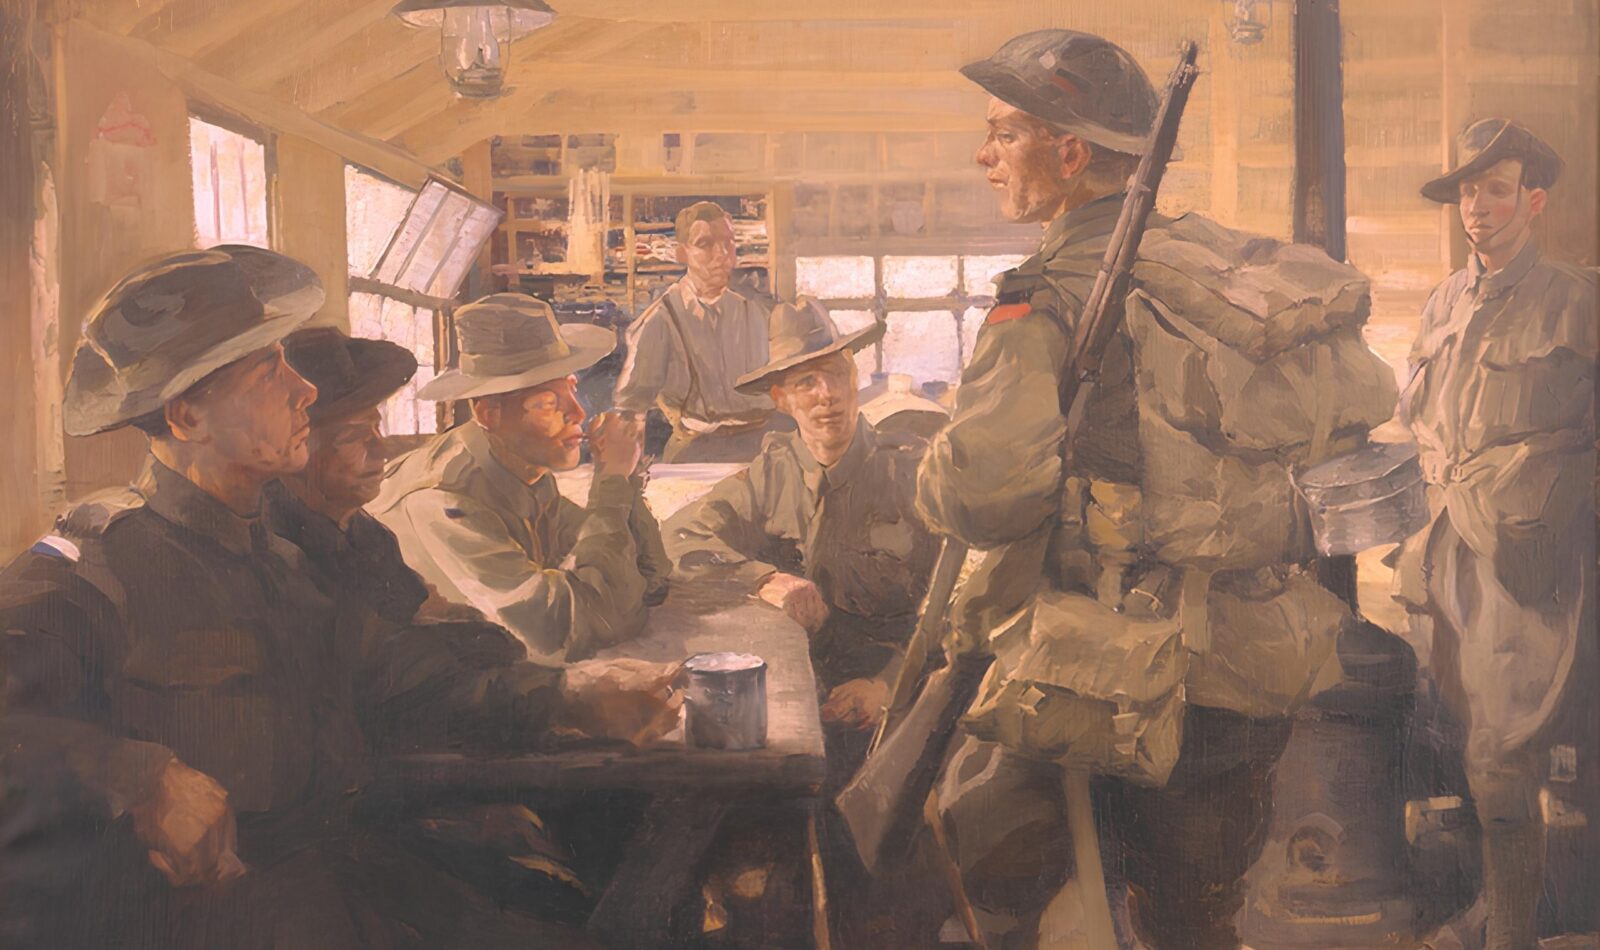
The structure of Australia’s military force changed over the course of the war. At the outbreak of war, Australia had a small navy and a small regular army. Part-time volunteers in the Citizen Forces were unable to serve overseas. Thousands of men enlisted in the armed forces when recruiting began.
Forces for wartime service
At the outbreak of the War Australia responded quickly to the early telegram warnings from the United Kingdom (UK), by:
- placing Australian ships under British control
- recruiting volunteers to serve in the armed forces overseas
- mobilising a volunteer unit to occupy German New Guinea
The Royal Australian Navy (RAN) was placed under the command of the British Admiralty almost immediately.
General Sir William Bridges was instructed to raise an Australian military force to serve in Europe. Building on a defence scheme that he created in 1908, Bridges wanted Australian troops to fight together, alongside but separate from British army units. To facilitate this the Australian Army used the British Amy’s structure.
Military structure of combat forces
Towards the end of the war, some Australian battalions were so depleted of men through injury, illness and loss that they were lucky to have enough people for a full-strength company.

Military organisation
Bridges was appointed to command the Australian Imperial Force (AIF) in August 1914.
With Chief of Military Staff, Lieutenant-Colonel Sir Cyril Brudenell White, Bridges planned the Order of Battle for the AIF. Initially, they aimed to:
- recruit members of the citizen army and men with experience in militia units and rifle clubs
- form military units with territorial connections, with men drawn from the same regions
The infantry battalions and light horse regiments recruited men from their own states throughout the war. Only specialty units, such as the artillery, medical corps and engineers, drew men from all over Australia.

Order of Battle
At the start of the war, the military structure included 12 battalions organised into 3 brigades within 1 division. The structure was similar to Lord Kitchener’s defence scheme for Britain.
1st Division
1st Infantry Brigade
Supplied by New South Wales (NSW):
- 1st, 2nd, 3rd and 4th Infantry Battalion AIF
2nd Infantry Brigade
Supplied by Victoria:
- 5th, 6th, 7th and 8th Infantry Battalion AIF
3rd Infantry Brigade
Supplied by the least populous states of Australia:
- 9th Infantry Battalion AIF from Queensland
- 10th Infantry Battalion AIF from South Australia (SA)
- 11th Infantry Battalion AIF from Western Australia (WA)
- 12th Infantry Battalion AIF, with half from Tasmania and half from both SA and WA
Later in the war, the 2nd, 3rd and 5th Australian Divisions each contained one brigade recruited from NSW, one from Victoria and one from the other four states. In the 3rd Australian Division, the Tasmanian battalion [40 Bn] served in the 10th Victorian brigade.

The 4th and 8th Infantry Brigades were exceptions to the general system. They each contained units of men from all the Australian states because less populous states could not field enough complete battalions.

Capturing a territorial spirit
To create a strong bond within each unit, recruitment offices tried to recruit men and officers from the same region, not just from the same state.
‘The units were to be connected with the different States in Australia; they were to be definitely local and territorial.’
For example, the brigadier of 1st Infantry Brigade allotted the 13th, 14th, 15th, 16th, 17th, 18th, 19th and 20th training areas to the 2nd Battalion. These areas were in the northern parts of NSW. The men of 2nd Battalion were mostly drawn from the coal fields of NSW, and its first two commanding officers came from that area too.
The five Divisions of the Australian Imperial Force
In February 1916, the military structure of the AIF and the New Zealand Expeditionary Force was reorganised because both forces had expanded.
The Australian and New Zealand Army Corps (ANZAC) was replaced by:
- I ANZAC Corps — 1st Division, 2nd Division and the newly formed New Zealand Division
- II ANZAC Corps — 4th Division and 5th Division (both newly formed).
I ANZAC Corps included veterans of the 1st and 2nd Divisions evacuated from Gallipoli, reinforcements who had been training in Egypt and recent recruits from Australia. Battalions in the 4th and 5th Divisions were also made up of new men from Australia and Gallipoli veterans transferred to the newly formed battalions to provide a core of experience.
The 4th Division swapped with the New Zealand Division to join I ANZAC Corps — in time for the corps to move to the Somme. The AIF’s 3rd Division arrived in France on 21 November, under the command of Major General John Monash, and joined II ANZAC Corps in Flanders.

The Australian Military Forces continued with the recruitment directives first designed by Bridges. But action later in the war affected these plans. For example, the Australian 6th Division was only briefly in existence. After tragic casualties at the Battle of Bullecourt in 1917, the division broke up to reinforce the surviving divisions.
Original articles:
DVA (Department of Veterans’ Affairs) (2024 ), Structure of Australia’s forces in World War I, DVA Anzac Portal, accessed 12 August 2025, https://anzacportal.dva.gov.au/wars-and-missions/ww1/military-organisation/structure-of-forces
DVA (Department of Veterans’ Affairs) (2024 ), First Australian Imperial Force in World War I, DVA Anzac Portal, accessed 12 August 2025, https://anzacportal.dva.gov.au/wars-and-missions/ww1/military-organisation/australian-imperial-force
